Installing and managing your Python environment can be tricky, as this famous XKCD comic has aptly pointed out. After many years of experimentation, here is my advice on the best way to install Jupyter Lab (and notebook).

TL/DR
Use pipx to manage your installation of Jupyter Lab.
# install pipxbrew install pipxpipx ensurepath
# install jupyterlabpipx install jupyterlab --include-depspipx ensurepath
# add common dependenciespipx inject jupyterlab pandaspipx ensurepath
# start jupyterlabjupyter-lab
The basic approach
The official Jupyter Lab installation instructions are simple:
pip install jupyterlabjupyter-labThese instructions work for getting started. However, as your number of Python projects grows, so will the complexity of your environment. Consider this:
- When you called
pip install jupyterlab, where on your computer was it installed? - Which version of Python was it installed using?
- What other dependencies are in the environment for which I installed it?
- How can I access the other tools that come along with Jupyter Lab, like ipython?
The strategic approach
After dealing with Jupyter Lab installations on several computers, I have come up with an approach that works best for me. I use pipx to install Jupyter Lab in an isolated environment that I can re-use every time I need to use Jupyter Lab or another Jupyter tool (e.g. ipython).
Why use pipx?
First of all, what is pipx?
pipx is a tool to help you install and run end-user applications written in Python. It’s roughly similar to macOS’s brew, JavaScript’s npx, and Linux’s apt.
It’s closely related to pip. In fact, it uses pip, but is focused on installing and managing Python packages that can be run from the command line directly as applications.
Typically you want to use pipx for tools you want to use across a variety of projects. For example:
- black
- asciinema
- and many others! See https://pypa.github.io/pipx/programs-to-try/
Pipx creates isolated environments to run these Python applications. You only need to install the specific Python application once. Then you can run it on all of your projects.
Why install jupyterlab with pipx?
When installing Jupyter Lab, there are several outcomes I wanted:
- I want only to install Jupyter Lab once (e.g. not for each virtual environment).
- I want the environment to be easy to manage (e.g. upgrading Jupyter Lab, adding and removing dependencies).
- I want to easily access the other command line tools installed with Jupyter Lab, such as
jupyterandipython. I also only want to install these tools once. - I want to use this environment to render Quarto projects and Jupyter Book projects.
Step 1: install pipx
Install pipx by following the instructions here: https://pypa.github.io/pipx/installation>.
brew install pipxpipx ensurepathpython -m pip install --user pipxpython -m pipx ensurepathStep 2: Install Jupyter Lab with pipx
Install Jupyter Lab using pipx:
pipx install jupyterlab --include-depspipx ensurepathI have chosen to use the --include-deps flag. This flag will install the apps for all of the dependencies of jupyterlab that I also want to expose. For example, if I were to install without the --include-deps flag, I would only get access to four commands:
pipx install jupyterlabpipx ensurepathpipx list# venvs are in /Users/samedwardes/.local/pipx/venvs# apps are exposed on your $PATH at /Users/samedwardes/.local/bin# package jupyterlab 3.4.5, installed using Python 3.10.5# - jlpm# - jupyter-lab# - jupyter-labextension# - jupyter-labhubIf I install it with the flag, I get access to many more. For me, this behaviour is desirable because I want to be able to access commands like ipython and jupyter.
pipx install jupyterlabpipx ensurepathpipx list# venvs are in /Users/samedwardes/.local/pipx/venvs# apps are exposed on your $PATH at /Users/samedwardes/.local/bin# package jupyterlab 3.4.5, installed using Python 3.10.5# - ipython# - ipython3# - jlpm# - jsonschema# - jupyter# - jupyter-bundlerextension# - jupyter-dejavu# - jupyter-execute# - jupyter-kernel# - jupyter-kernelspec# - jupyter-lab# - jupyter-labextension# - jupyter-labhub# - jupyter-migrate# - jupyter-nbclassic# - jupyter-nbclassic-bundlerextension# - jupyter-nbclassic-extension# - jupyter-nbclassic-serverextension# - jupyter-nbconvert# - jupyter-nbextension# - jupyter-notebook# - jupyter-run# - jupyter-server# - jupyter-serverextension# - jupyter-troubleshoot# - jupyter-trust# - normalizer# - pybabel# - pygmentize# - pyjson5# - send2trash# - wsdumpThe other commands are installed whether you use --include-deps or not. The
difference is that when I use --include-deps, these other commands are also
added to the PATH.
Step 3: install common dependencies (optional)
If there are some dependencies that you use very often, it may also be helpful to install these dependencies in your pipx Jupyter Lab environment. For example, I use the pandas package daily. To avoid creating a virtual environment, I will “inject” my Jupyter Lab environment with pandas. Then, I can import pandas when I launch Jupyter Lab and use the default kernel or launch the ipython REPL.
pipx inject jupyterlab pandaspipx ensurepathI would recommend using the pipx inject command sparingly. If you have a bunch of dependencies you need to add, it may make sense to create a virtual environment instead.
Step 4: start Jupyter Lab
You can now launch Jupyter Lab using the following:
jupyter-lab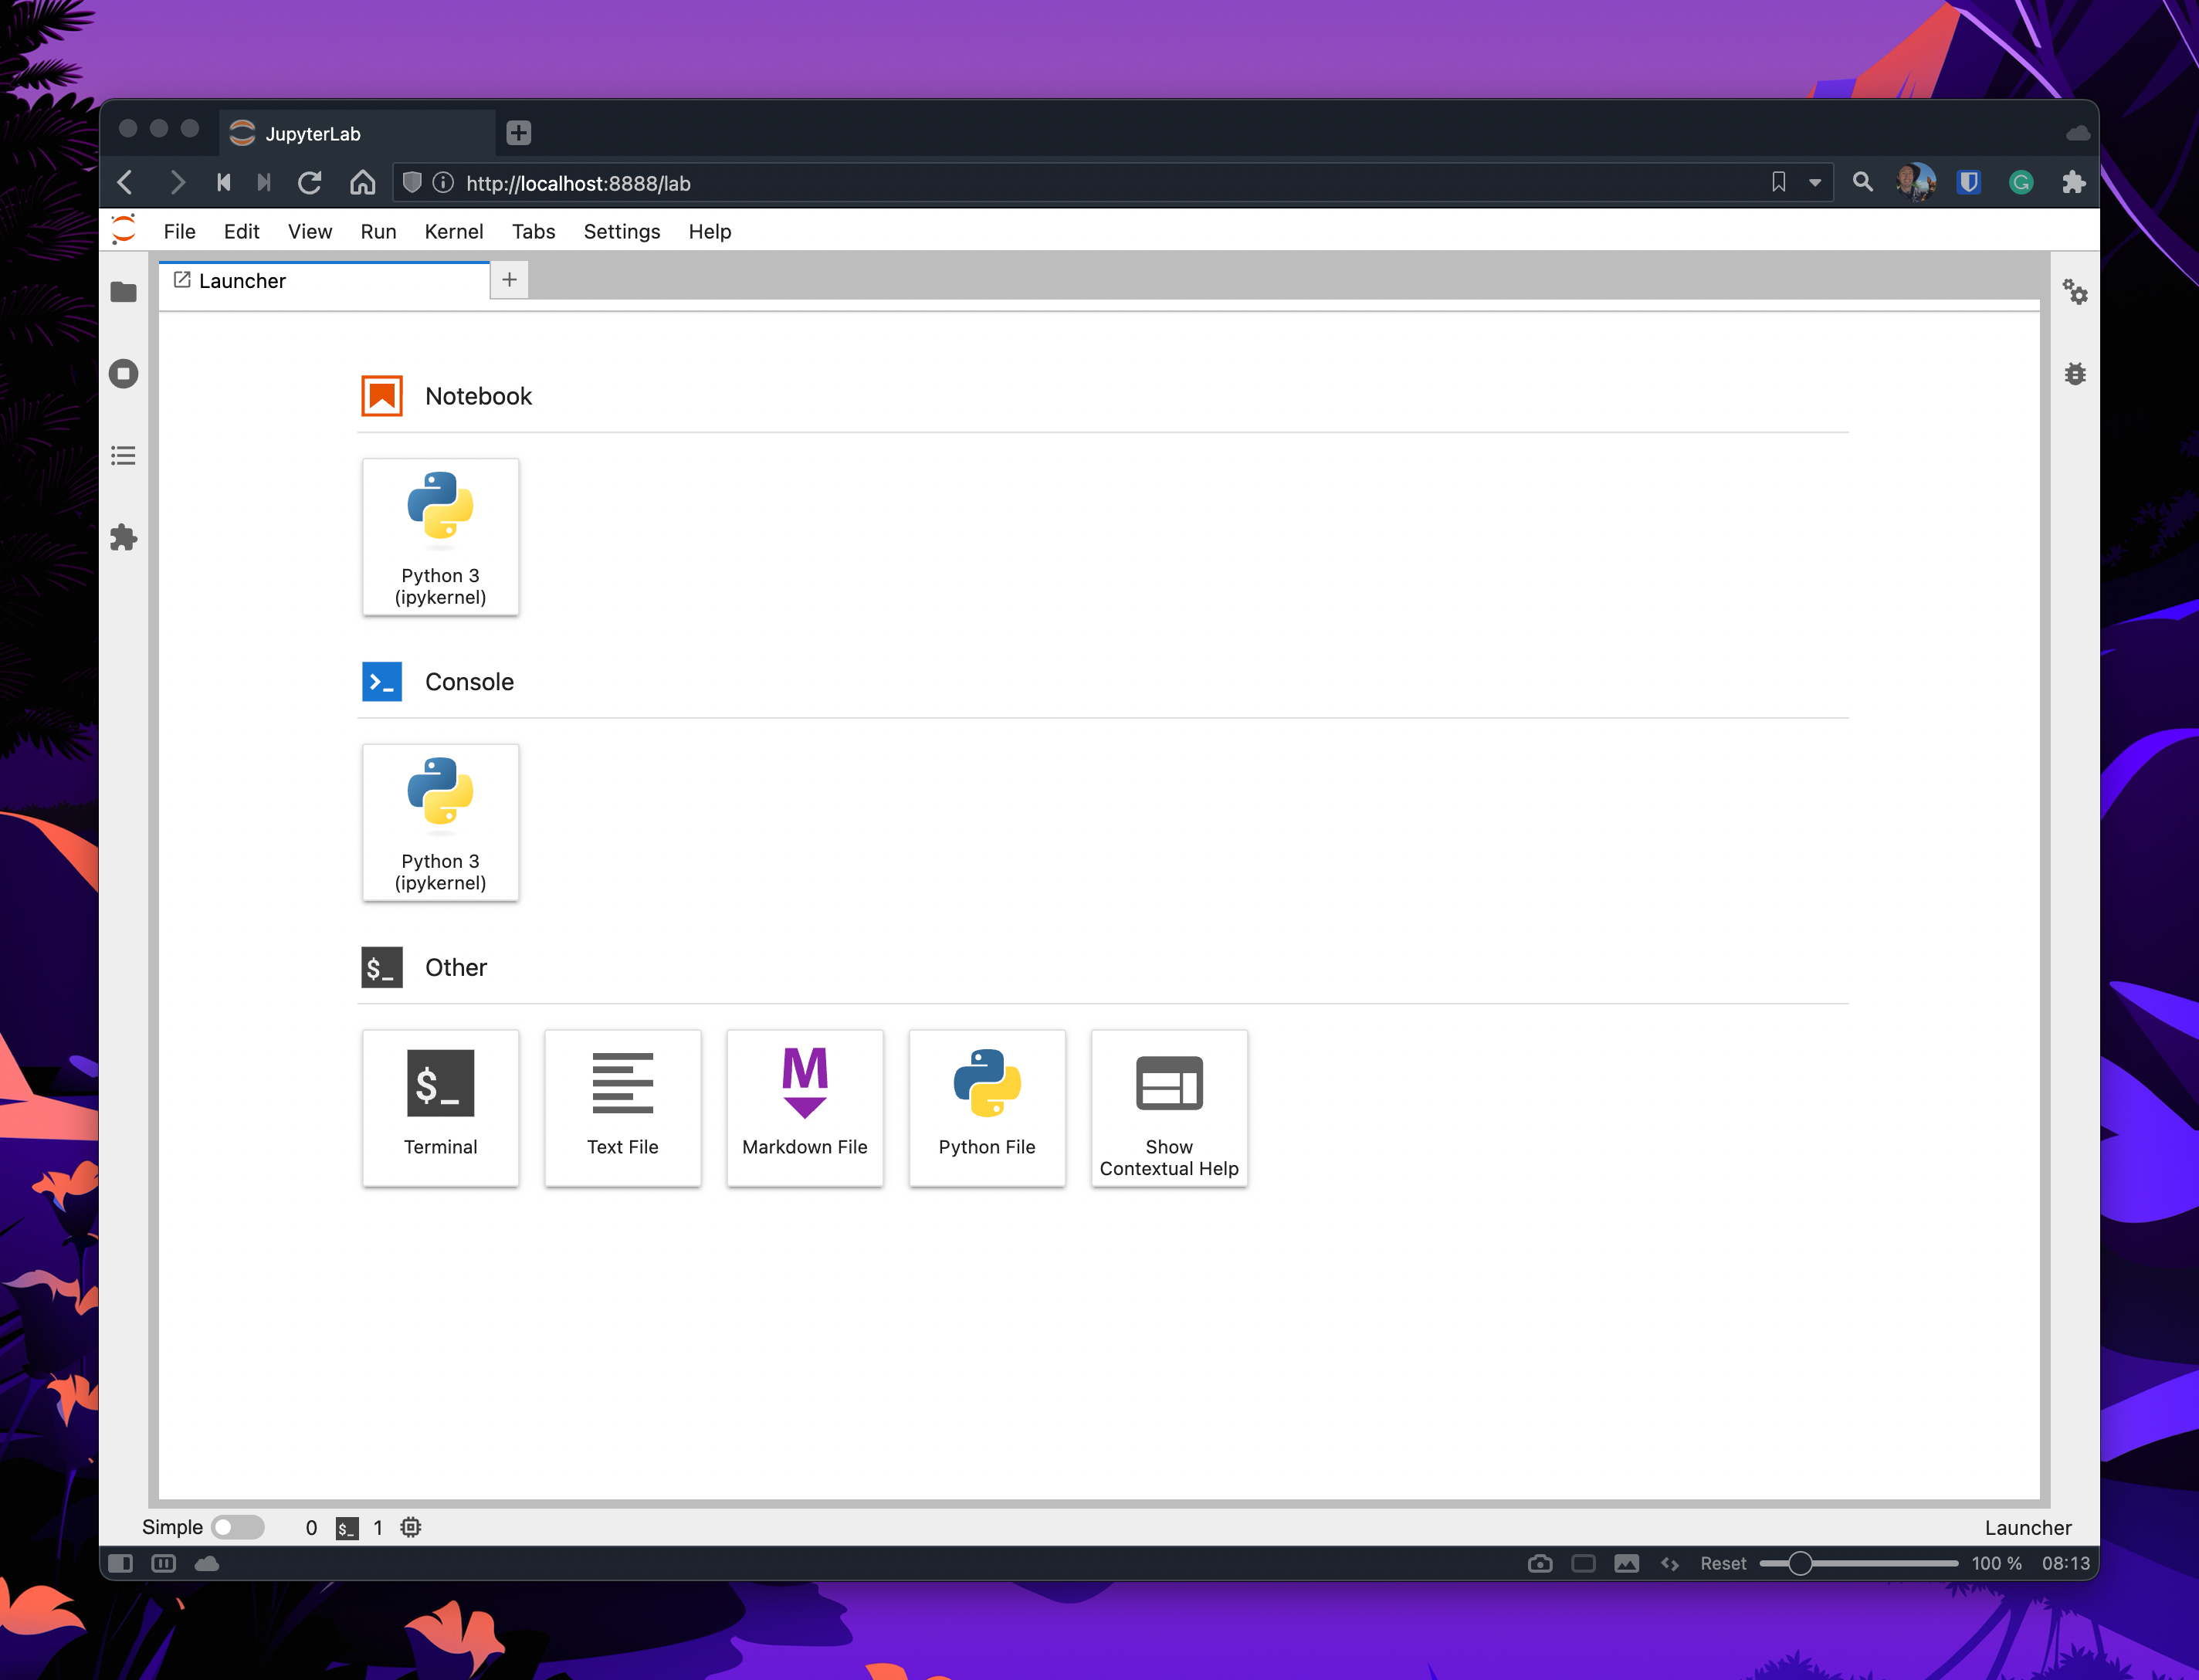
Virtual environments
Hopefully, my strategic approach will cover much of your Jupyter Lab usage. However, you will likely still want to create virtual environments to isolate your project for projects. Instead of adding Jupyter Lab into the virtual environment, I recommend still using the Jupyter Lab you installed with pipx.
Create a new virtual environment
First, create and activate a new virtual environment:
python -m venv venvsource venv/bin/activatepython -m pip install --upgrade pip wheel setuptoolsNext, install the dependencies you require:
pip install pandas spacy matplotlibLastly, you will need to pip install ipykernel and install a new kernel. Ipykernel is the only dependency we need to add to our virtual environment related to Jupyter. Note that you do not need to add Jupyter Lab.
Install a new kernel
Before installing ipykernel, let’s first look at the current state of our environment:
jupyter kernelspec# Available kernels:# python3 /Users/samedwardes/.local/pipx/venvs/jupyterlab/share/jupyter/kernels/python3As you can see, we currently have only one kernel registered with Jupyter Lab. After we install a new one, we should see two:
pip install ipykernelpython -m ipykernel install --user --display-name ${PWD} --name ${PWD##*/}# Installed kernelspec jupyter-blob-test in /Users/samedwardes/Library/Jupyter/kernels/jupyter-blob-testjupyter kernelspec list# Available kernels:# jupyter-blob-test /Users/samedwardes/Library/Jupyter/kernels/jupyter-blob-test# python3 /Users/samedwardes/.local/pipx/venvs/jupyterlab/share/jupyter/kernels/python3Notice how I used --display-name ${PWD} and --name ${PWD##*/}. These flags do two things:
--display-name ${PWD}sets the name you see in the Jupyter Lab user interface to the name of my projects directory. I like this for helping me stay organized. I want to know if this kernel is associated with this project. I can delete the kernel once the project is complete.--name ${PWD##*/}sets the “actual name” of the kernel to my current directory.--nameis the name you see when you calljupyter kernelspec list. Again, I do this to try and make it easy for me to keep track of and manage my kernels.
When you start Jupyter Lab again, you will also see two kernels to choose from:
jupyter-lab
Delete the kernel
You can safely delete your kernel once your project is complete and you think you will no longer need to use it. First double, check the names of the kernels you currently have installed:
jupyter kernelspec list# Available kernels:# jupyter-blob-test /Users/samedwardes/Library/Jupyter/kernels/jupyter-blob-test# python3 /Users/samedwardes/.local/pipx/venvs/jupyterlab/share/jupyter/kernels/python3Then remove the kernel:
jupyter kernelspec uninstall jupyter-blob-test# [RemoveKernelSpec] Removed /Users/samedwardes/Library/Jupyter/kernels/jupyter-blob-testjupyter kernelspec list# Available kernels:# python3 /Users/samedwardes/.local/pipx/venvs/jupyterlab/share/jupyter/kernels/python3