Caddy and Cloudflare make it easy to get TLS certificates for your homelab. In this blog post I will walk you through how to set up Caddy and Cloudflare for automated TLS!
Getting started
To get started, you will need a few things:
- A domain name that you own. I used Cloudflare to purchase
edwardes.xyz. - A Cloudflare account (free!).
- A server to run Caddy on (your homelab!)
Setting up Cloudflare DNS
Cloudflare provides a free DNS service. We will use this service to create DNS records that will point all of our homelab traffic to Caddy. If you purchased your domain name through Cloudflare, you are almost done already!
If you purchased your domain through another provider you will need to manually configure Cloudflare to be your DNS provider. Here are a few examples:
- Namecheap: https://www.namecheap.com/support/knowledgebase/article.aspx/9607/2210/how-to-set-up-dns-records-for-your-domain-in-cloudflare-account/
- GoDaddy: https://blog.softbinator.com/set-up-cloudflare-dns-godaddy-domains/
The key is that you need to tell your domain registrar to use Cloudflare’s DNS servers by changing your domain’s nameservers to the nameservers for Cloudflare. One advantage of buying the domain through Cloudflare is that this step is done for you automatically.
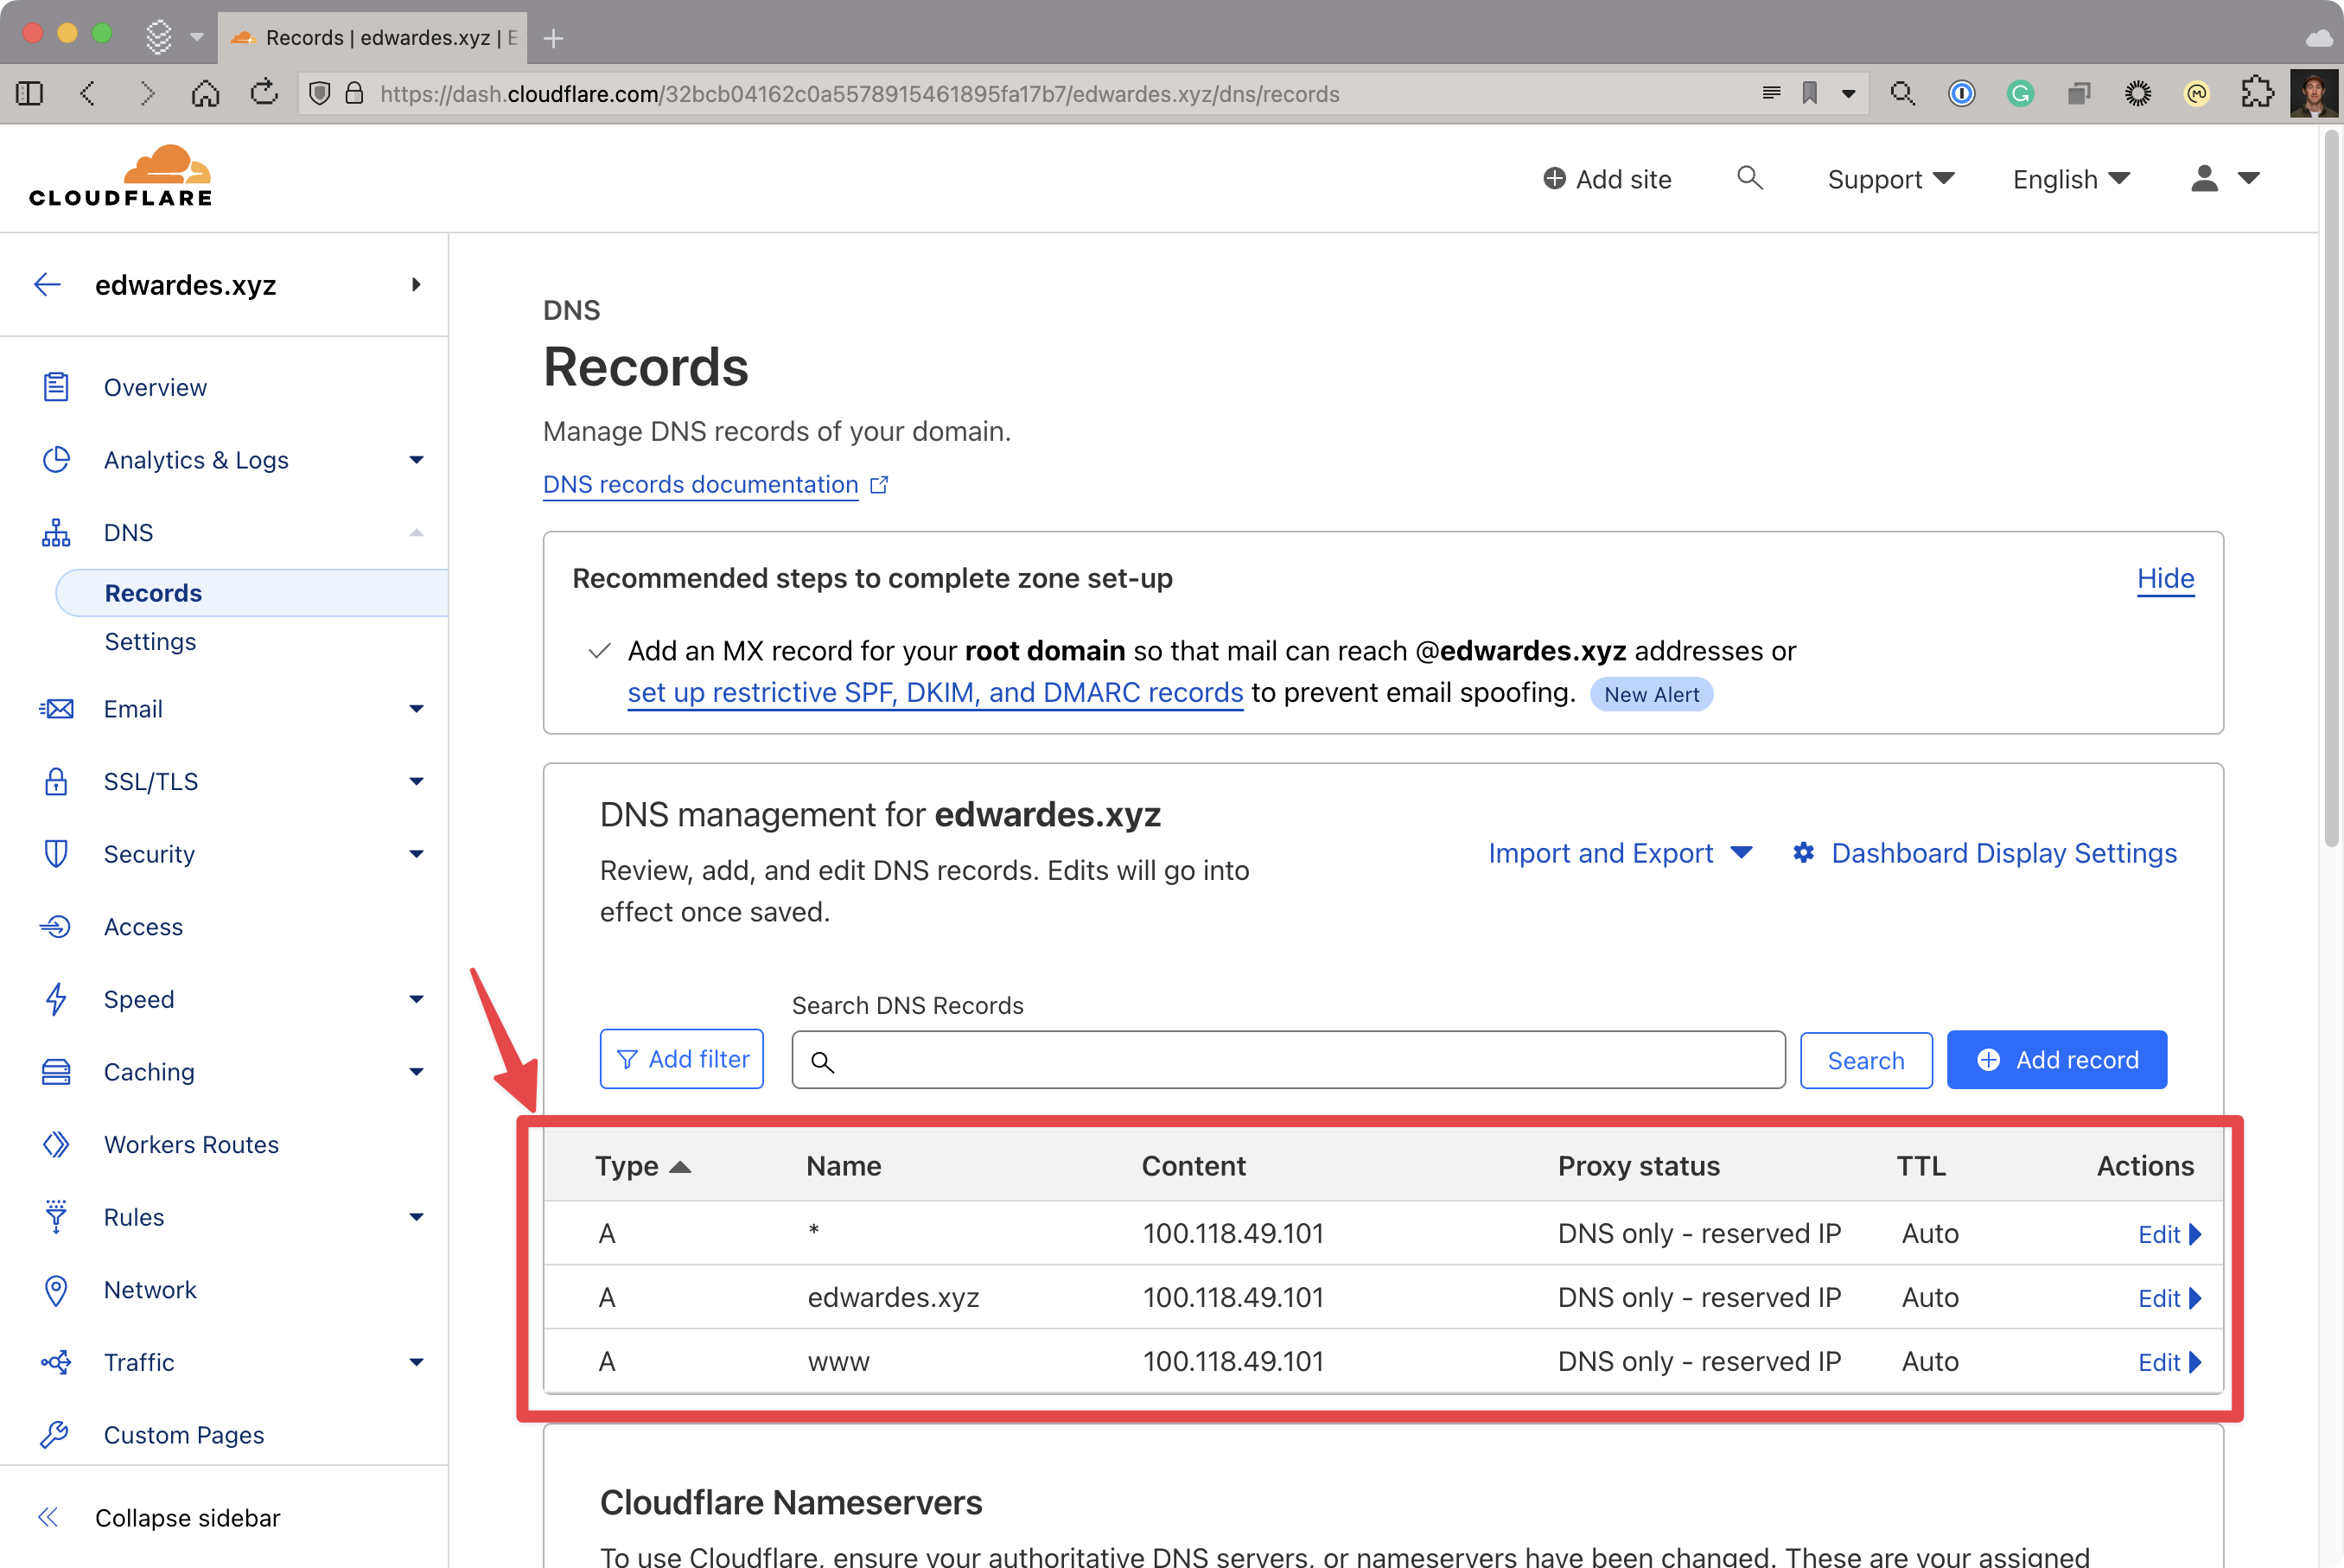
Lastly, set up the required DNS records to point to the internal IP address of your homelab server. Replace “Name” with your domain name, and replace “Content” with your internal IP address.

This may seem a bit strange. How will Cloudflare no what to do with 100.118.49.101? This is an internal IP address that is only accessible from within your homelab. The trick is that Cloudflare does not care! We just need the DNS name edwardes.xyz to resolve to this IP address. When I am on my home network it will resolve to my server hosting Caddy. When I am not inside my home network it will still resolve to 100.118.49.101, but this IP address will mean nothing to the outside world.
Setting up Caddy
Next we will install Caddy in our homelab. Caddy is able to automatically provision HTTPS certificates for you. If you have public facing website, you can do with with very little configuration. Since we are setting up private services in our homelab we have a little bit of extra work to do. You will need to install Caddy with the CloudFlare module https://github.com/caddy-dns/cloudflare.
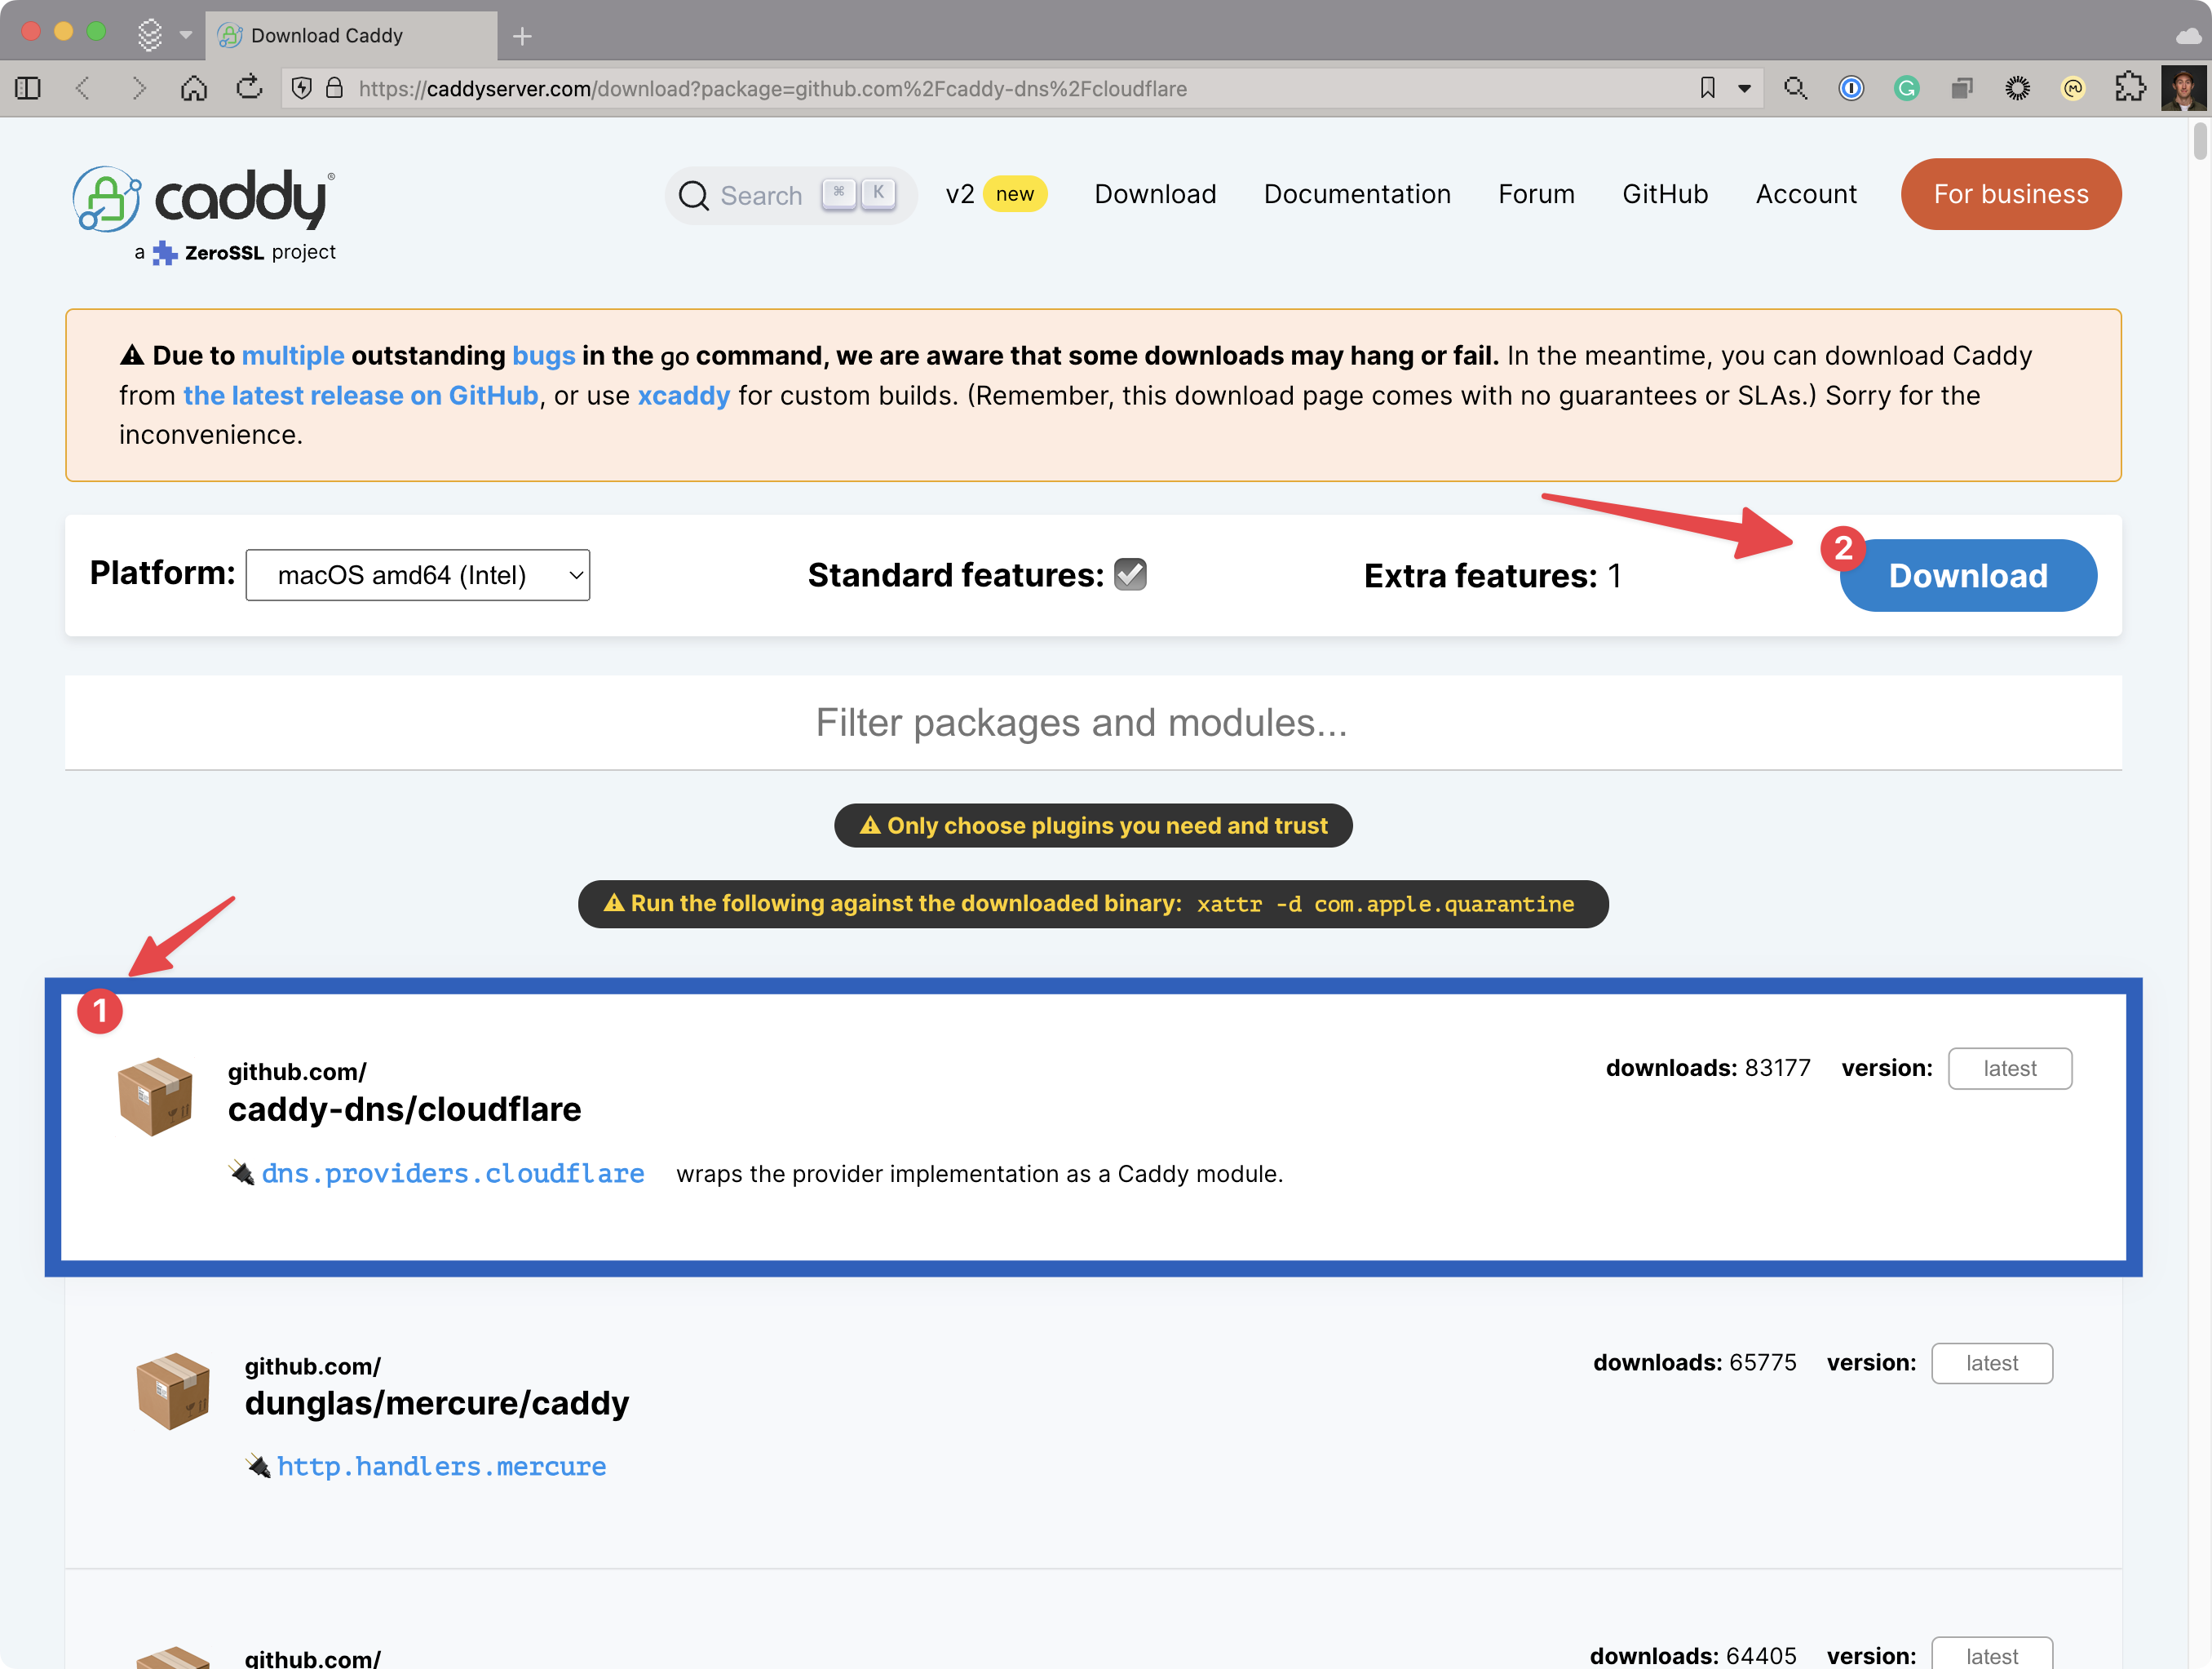
- Get the URL to download Caddy with the Cloudflare module already enabled. To get the URL for this, go to https://caddyserver.com/download?package=github.com%2Fcaddy-dns%2Fcloudflare. Make sure you have
caddy-dns/cloudflareselected in the list of plugins and that you have selected your desired operating system from the Platform dropdown. h Copy the URL for the download.

- Install Caddy in your homelab.
# Download Caddy with the Cloudflare modulesudo curl -o /usr/bin/caddy "https://caddyserver.com/api/download?os=linux&arch=arm64&p=github.com%2Fcaddy-dns%2Fcloudflare&idempotency=65109249937188"
# Make Caddy executablesudo chmod 755 /usr/bin/caddy
# Verify that Caddy is installedcaddy --version- Configure Caddy to serve the Caddy docs.
# Create a directory for Caddy's configurationsudo mkdir /etc/caddy
# Create a configuration filesudo tee /etc/caddy/Caddyfile <<EOFtest.edwardes.xyz {  # Set this path to your site's directory.  root * /usr/share/caddy
  # Enable the static file server.  file_server
tls { dns cloudflare {env.CLOUDFLARE_API_TOKEN} }}EOFThis section is the crux of the configuration:
tls { dns cloudflare {env.CLOUDFLARE_API_TOKEN} }Caddy will use the Cloudflare module for the ACME DNS challenge. This is required because our homelab server is not publicly accessible.
- Create an API token in Cloudflare that has the permissions to manage DNS records for your site.
- Set the
CLOUDFLARE_API_TOKENenvironment variable and start Caddy.
export CLOUDFLARE_API_TOKEN="your-api-token"caddy run --config /etc/caddy/Caddyfile --adapter- Verify that Caddy is running and that you can access the Caddy docs at
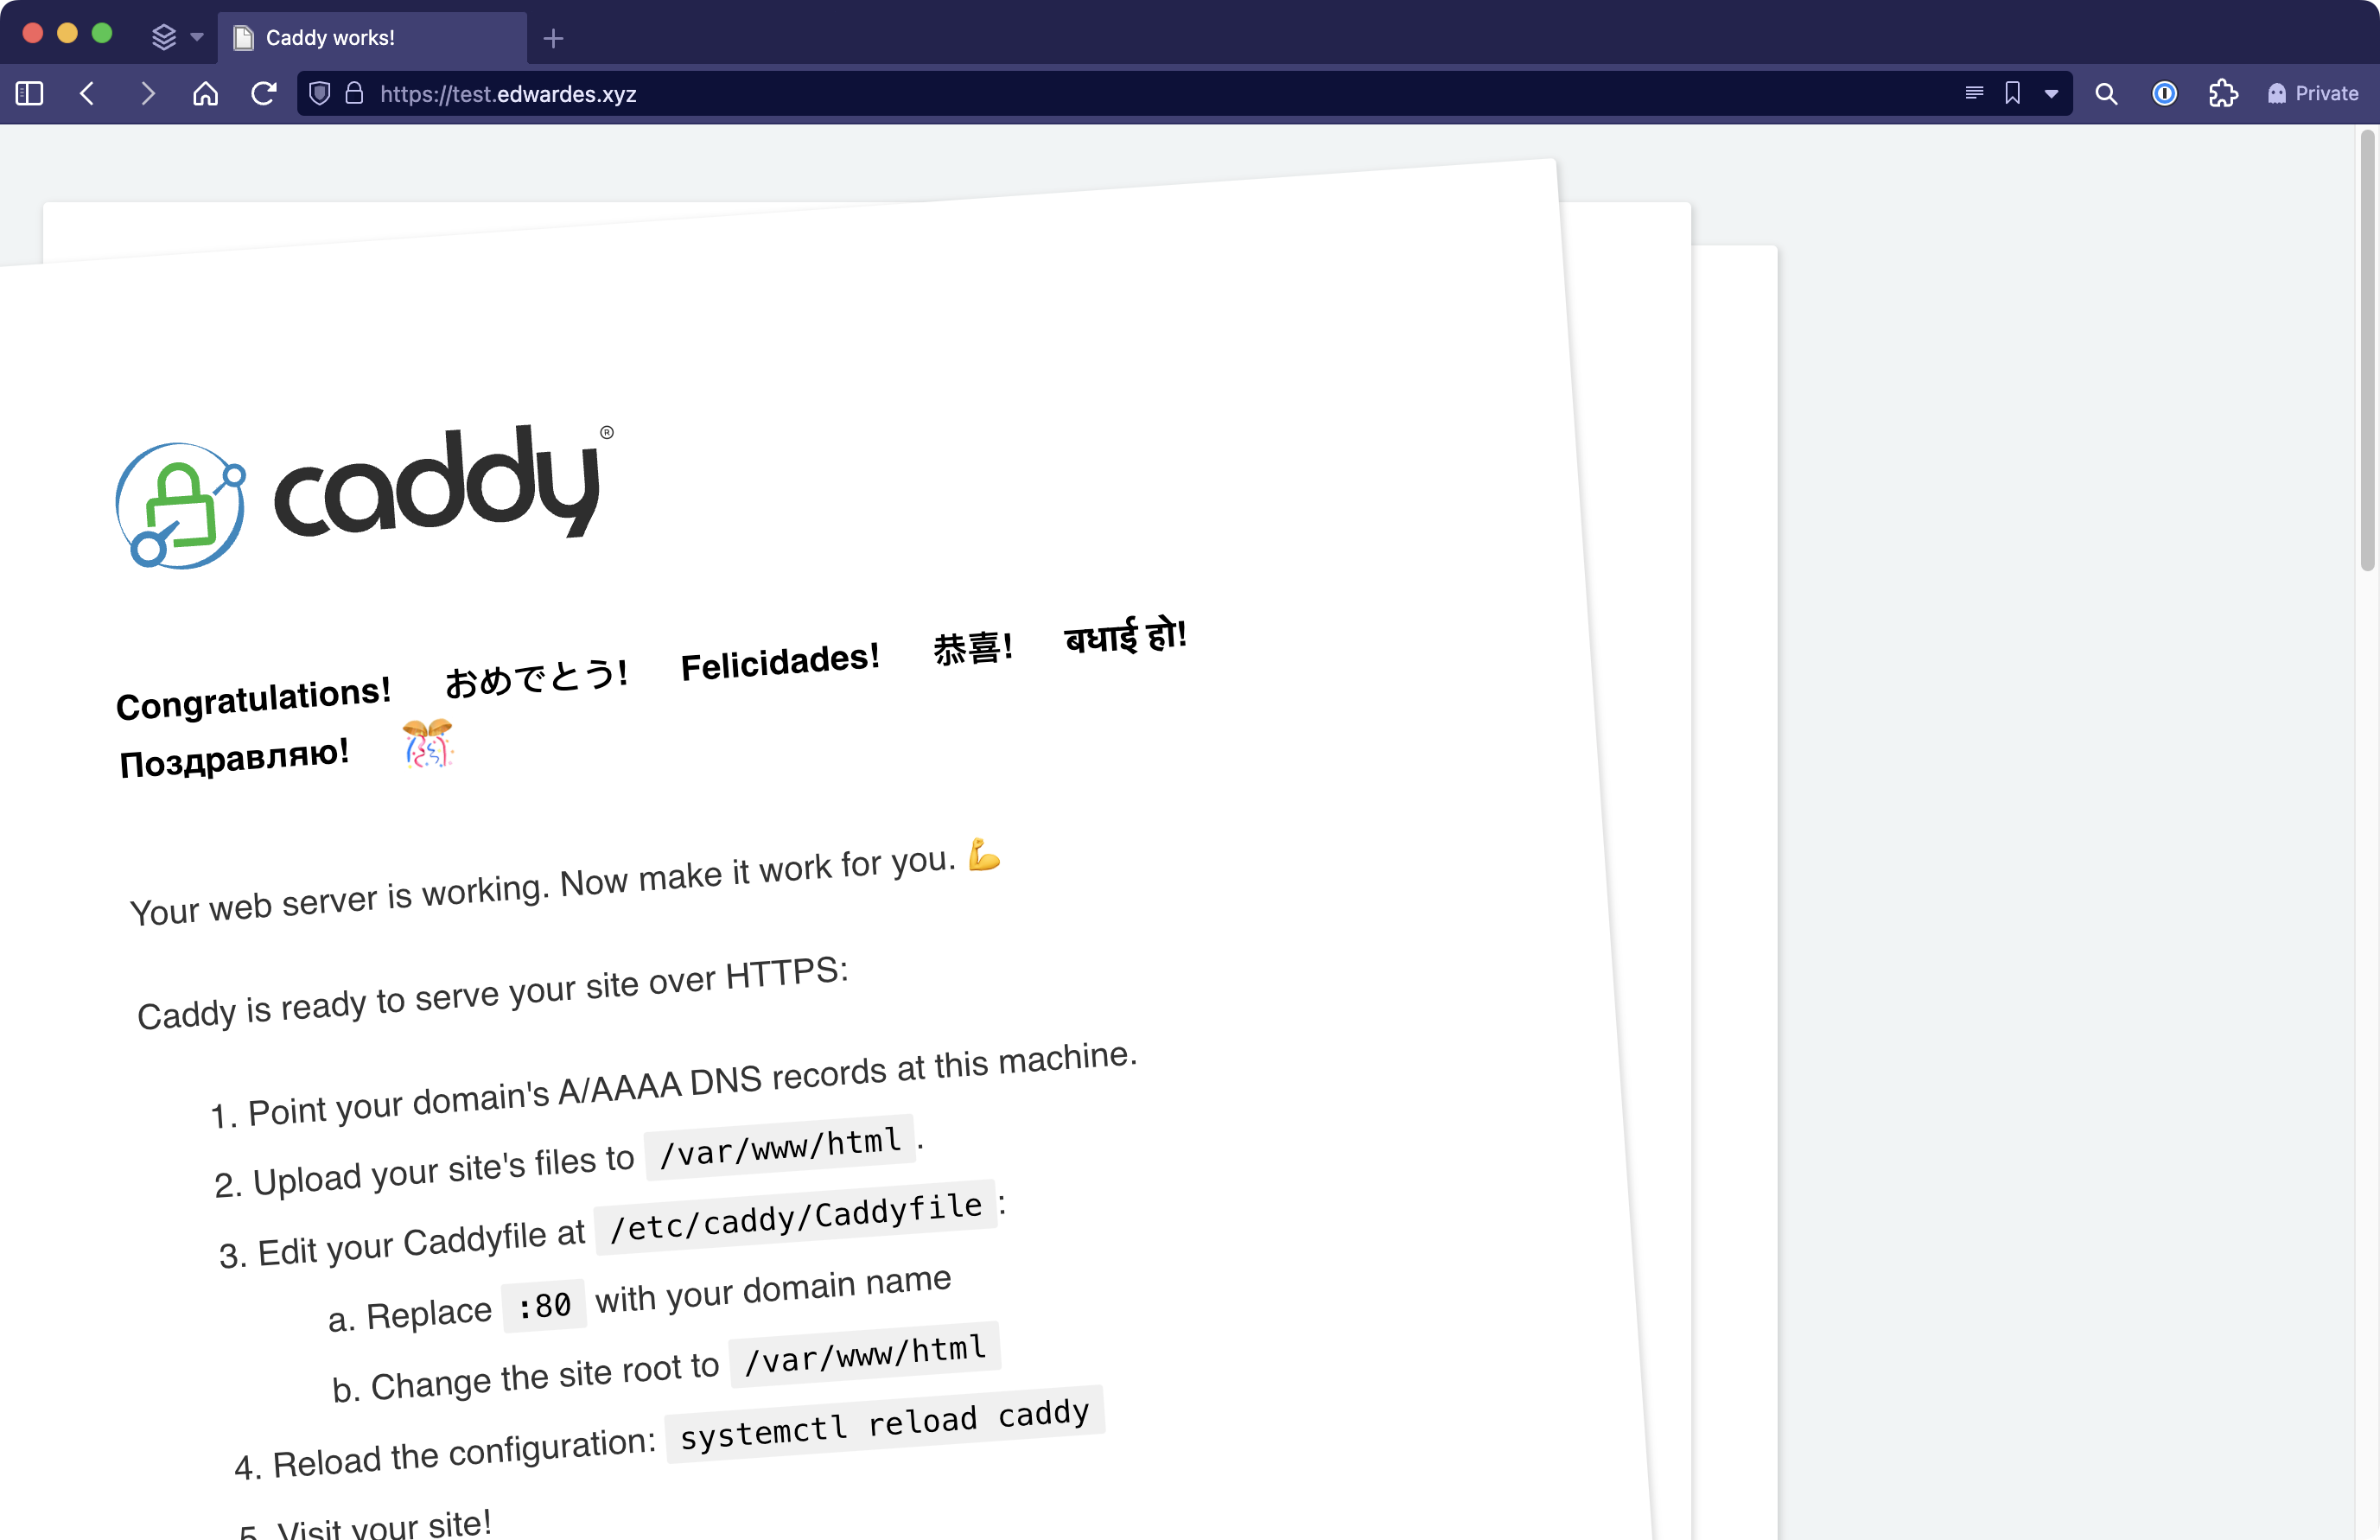
https://test.edwardes.xyz. Note that if you have just set up the DNS records it could take a while before this works. When I first set this up it took about 2 hours. You can check if the DNS name is correctly resolving withnslookup.
$ nslookup test.edwardes.xyzServer:         100.100.100.100Address:        100.100.100.100#53
Non-authoritative answer:Name:   edwardes.xyzAddress: 100.118.49.101
Reference
I found these resources helpful when setting up automated TLS: